

How To Remove The Background Of A Picture In Word 2013
Lesson 19: Formatting Pictures
/en/word2013/pictures-and-text-wrapping/content/
Introduction
There are a variety of ways to format pictures in your certificate. Depending on how the images are used and where they are placed, yous tin use Word's picture tools to personalize and modify them in interesting ways.
Optional: Download our exercise document.
To crop an paradigm:
When yous crop an paradigm, a part of the picture is removed. Cropping may be helpful when a moving picture has a lot of content and you lot desire to focus on merely part of information technology.
- Select the image y'all desire to crop. The Format tab appears.
- On the Format tab, click the Ingather command.
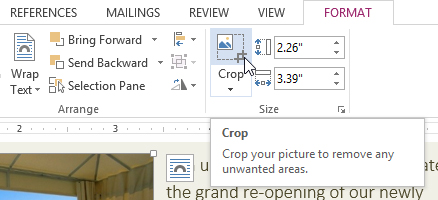 Clicking the Crop control
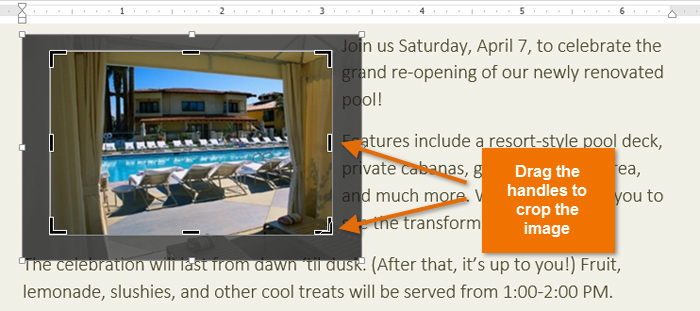
 - Cropping handles volition announced effectually the prototype. Click, concord, and drag a handle to crop the image.
 Cropping an paradigm
 - Click the Crop control over again. The image volition be cropped.
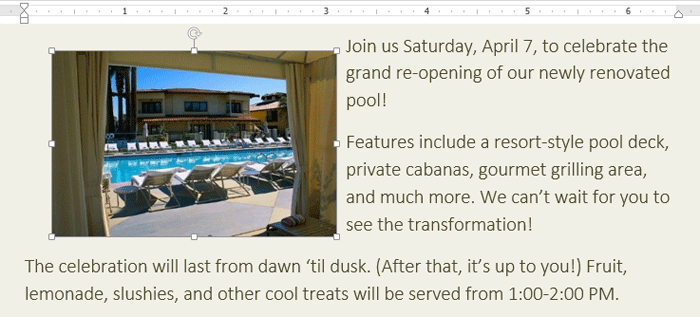 The cropped prototype
The corner handles are useful for simultaneously cropping the image horizontally and vertically.
To crop an image to a shape:
- Select the image y'all desire to crop, and then click the Format tab.
- Click the Crop drop-downward arrow. Hover the mouse over Ingather to Shape, then select the desired shape from the drib-downwardly menu that appears.
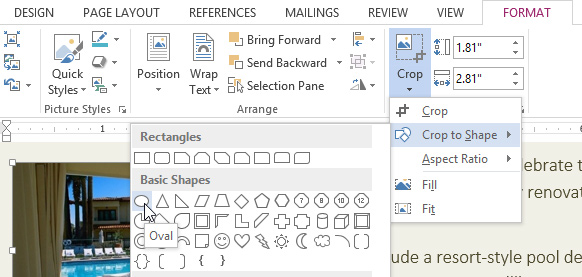 Selecting a shape
 - The image will announced formatted as the shape.
 The prototype cropped to a shape
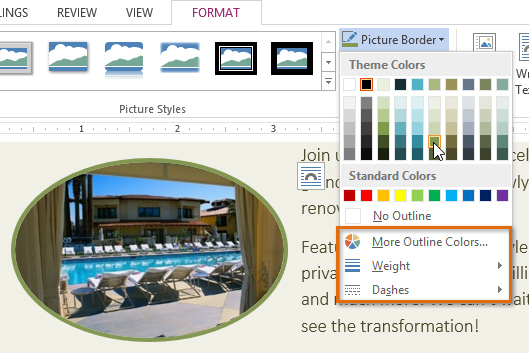
To add a border to a motion picture:
- Select the picture you desire to add a border to, then click the Format tab.
- Click the Picture show Edge command. A drop-down menu will appear.
- From hither, you tin select a color, weight (thickness), and whether or not the line is dashed.
 Irresolute the picture border
 - The border volition announced around the image.
Image adjustments
Word offers several options for changing the way images appear in your document. For example, you tin can add a frame, brand image corrections, change the epitome'south color or brightness, and even add some fashionable artistic effects. These options are located in the Adjust and Picture show Styles groups on the Format tab.
 Image Adjustment Options
When you're ready to make adjustments or experiment with the look of an paradigm, select the picture and choose one of these options from the Format tab:
- Corrections: This command is located in the Adjust group. From here, you can acuminate or soften the image to adapt how blurry or clear it appears. You can also adjust the brightness and contrast, which controls how light or dark the picture appears.
 The Corrections command
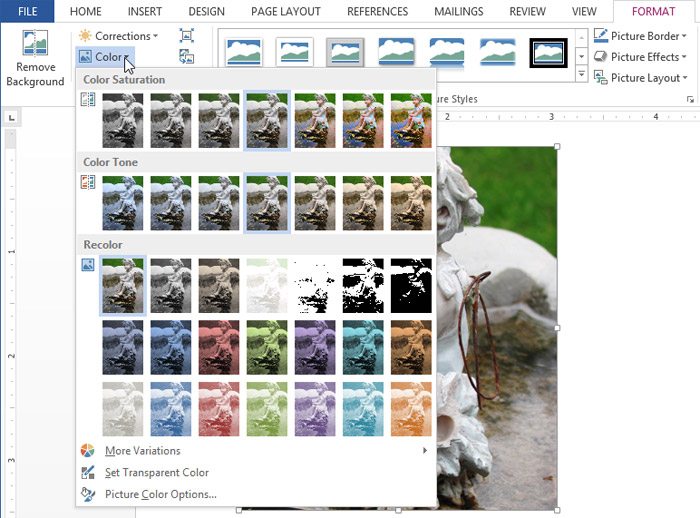
 - Color: This control is located in the Adjust group. From here, you can suit the prototype's saturation (how vivid the colors are), tone (the temperature of the image from cool to warm), and coloring (changing the overall colour of the prototype).
 The Adjust Colour control
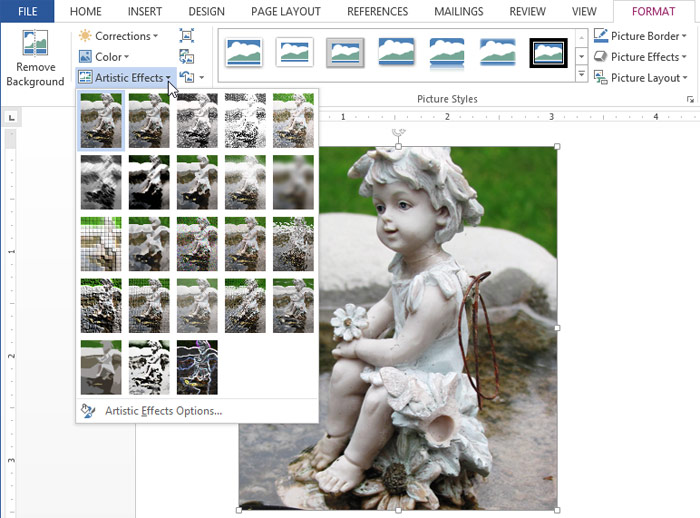
 - Artistic Furnishings: This command is located in the Adjust grouping. From here, you can add artistic furnishings such equally pastels, watercolors, and glowing edges.
 The Artistic Effects command
 - Picture Styles Group: This group contains a variety of styles you can employ to your picture, such equally frames, borders, and soft edges.
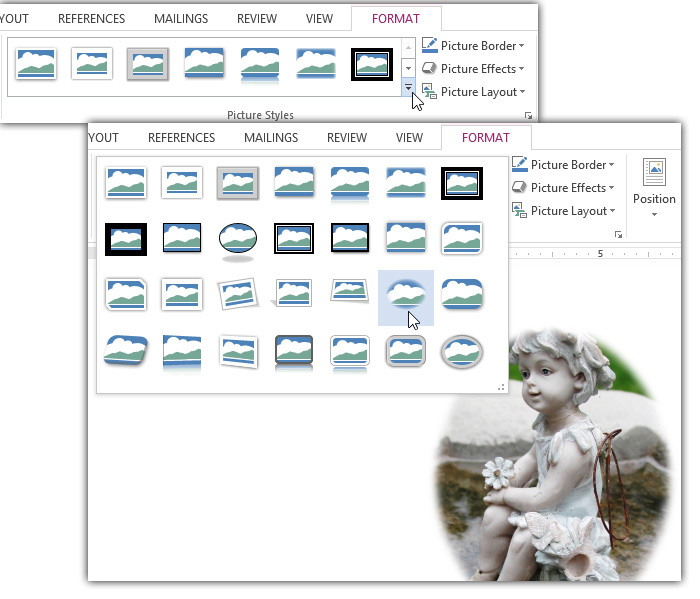 The Moving picture Styles drib-down menu
Compressing pictures
If yous intend to email a document that contains pictures, you'll need to monitor its file size. Large high-resolution pictures can rapidly crusade your document to get very big, which may brand it difficult or incommunicable to attach to an e-mail. Additionally, cropped areas of pictures are saved with the document by default, which tin can add to the file size. Word can reduce the file size by compressing pictures, which volition lower their resolution and delete cropped areas.
To shrink a picture:
- Select the motion picture you want to compress, then click the Format tab.
- Click the Compress Pictures command.
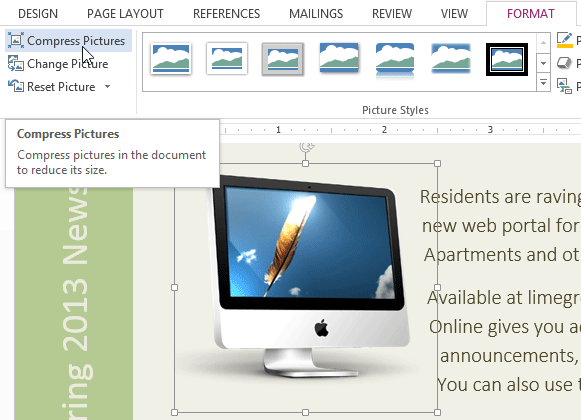 Clicking the Compress Pictures command
 - A dialog box will appear. Identify a check mark next to Delete cropped areas of pictures. You can also choose whether to use the settings to this picture only or to all pictures in the certificate.
- Choose a Target output. If you are emailing your certificate, you may want to select E-mail, which produces the smallest file size.
- Click OK.
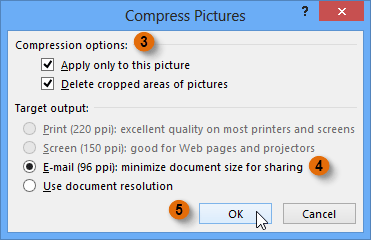 The Compress Pictures dialog box
Removing the background from an image
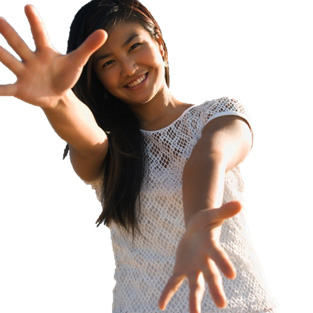
Removing the background from an image can give it a cleaner advent. If y'all're printing your document, it tin can likewise salvage ink.
About Background Removal
With Groundwork Removal, Word uses special algorithms to determine which parts of the image are the groundwork and and then removes these areas from the epitome.
 Before
 Subsequently
To remove the background from an prototype:
- Select the desired prototype, so click the Format tab.
- Click the Remove Groundwork command.
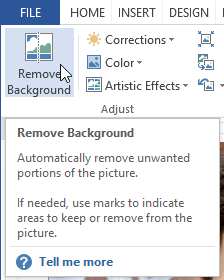 Clicking Remove Background
- Word will effort to guess which function of the paradigm to remove and marking the background with a magenta fill. It volition too place a box with selection handles around the prototype.
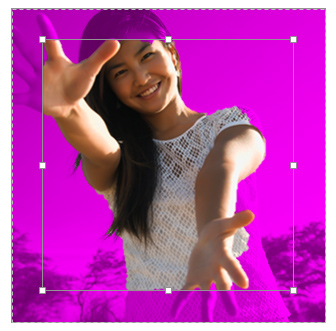 Background areas are marked with magenta
 - Elevate the pick handles until all of the foreground is inside the box. Afterward you do this, Word may readjust the background.
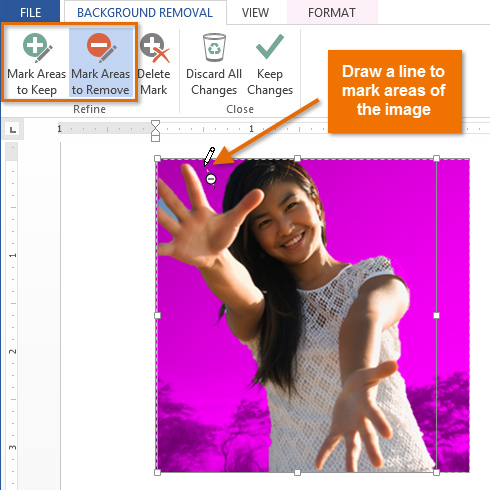
- At this point, y'all may demand to help Word decide which parts of the epitome are in the foreground and which parts are in the background. You lot can do this by using the Marker Areas to Keep and Mark Areas to Remove commands:
- If Discussion has marked role of the foreground magenta, click Mark Areas to Keep and draw a line in that region of the image.
- If part of the background has not been marked with magenta, click Marking Areas to Remove and describe a line in that region of the image.
 Mark areas to remove
 - After y'all add your marks, Word will readjust the epitome.
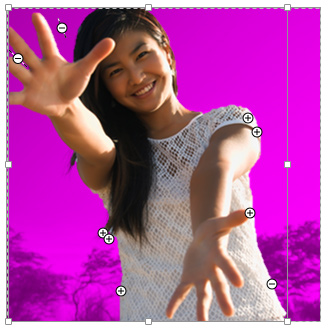 Later calculation marks
 - When you lot're satisfied with the image, click Go along Changes.
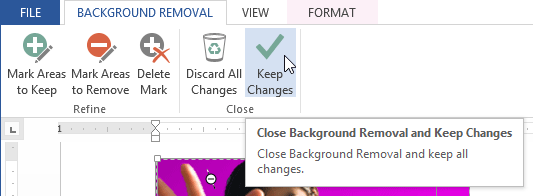 Clicking Continue Changes
 - The background volition be removed. Yous can adapt the prototype at any fourth dimension by clicking the Remove Groundwork command once again. The finished image
Challenge!
- Create a new Discussion document. If you want, you can use our practice document.
- Insert an paradigm from a file into the document.
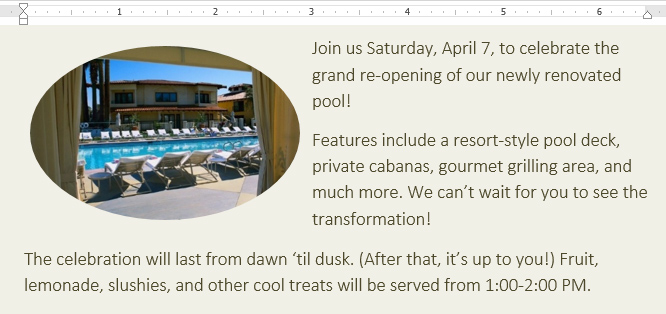
- Crop the image. If you're using the example, crop the image in the Pool Re-Opening & Celebration department into the shape of your choosing.
- Experiment with different prototype corrections and colour settings.
- Add together an Creative Effect to the paradigm. If you're using the example, add an creative effect to the image in the New Online Resident Portal section.
- Try compressing an epitome. If y'all're using the example, compress the epitome in Memorial Solar day Barbecue section.
- Remove the background from the epitome. If you're using the example, remove the groundwork of the image in the Of import Contact Info section.
/en/word2013/shapes/content/

How To Remove The Background Of A Picture In Word 2013,
Source: https://edu.gcfglobal.org/en/word2013/formatting-pictures/1/
Posted by: oliverioinflaing.blogspot.com
0 Response to "How To Remove The Background Of A Picture In Word 2013"
Post a Comment